It's that time of year!
Where've I been, you might be asking? It's just sooooo much easier to post on Instagram, Facebook and Twitter these days.
In case you missed any of my Halloween DIYs, I'm sharing a few today in the hopes that I'll get back down to blogging.
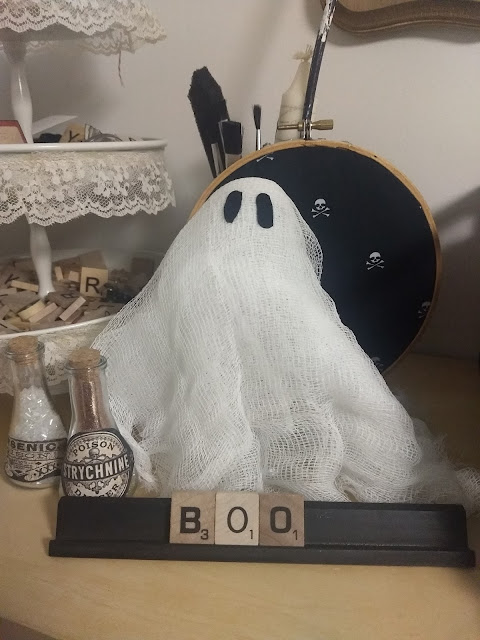
Halloween season was a blast this year. Not only did I volunteer to scare people at my friend's haunted house, I also had a ball DIYing and shopping for new Halloween decor.
But I'll let you in on a little secret...Everything came down today.
No, not to be replaced by Christmas decorations; I was just ready to get back to simple pumpkin decor for the rest of the season and Thanksgiving.
Halloween will always be my fave!
Jeanine
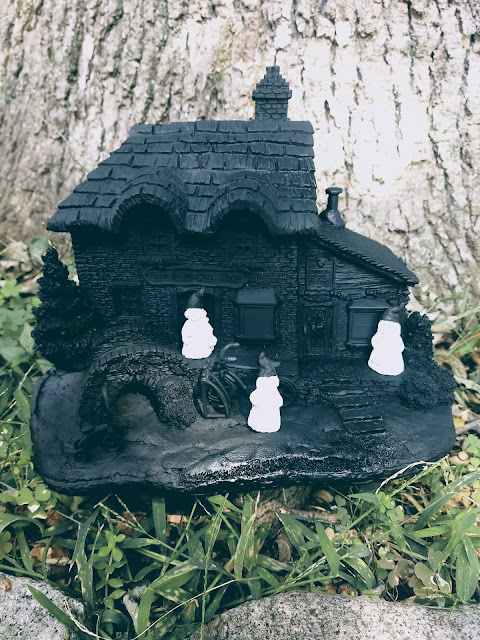
Halloween crafting is in full swing over here. I've been working on everything from creepy doll heads to Halloween Christmas houses.
But you probably already knew that if you follow me on Instagram,lol (@okiobdesigns).
Now I haven't exactly started putting stuff out yet. I broke out the autumn decor and plan to pace myself over the next couple of weeks.
Most of what I'm sharing was either made using items from the thrift store, Dollar Tree or items I already had around the house.
Hopefully the weather will start to cool off here soon and actually start to feel like Halloween season. A cool, crisp day, always gets the creative juices flowing.
Jeanine
I'm in full Halloween mode over here. Most of what I'm using is either stuff I already have or items I picked up from Dollar Tree.
Between now and then, I'll be trying out some new techniques and experimenting with a bunch of different ideas. As always, I will be keeping a budget in mind.
Jeanine
Anyone else getting Anthropologie or Pottery Barn vibes from Dollar Tree's ceramic pumpkins this year? The quality is better than expected and the color choices are fabulous! I grabbed the last two teal ones from our local store.
Jeanine
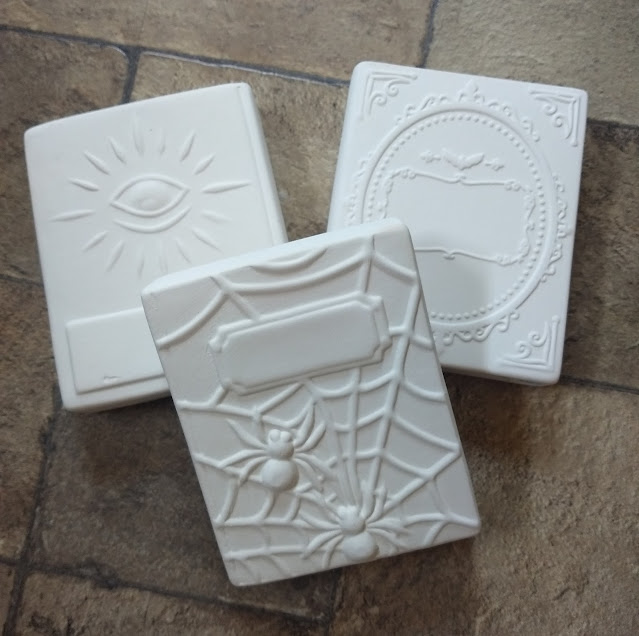
Have you seen these at your local Dollar Tree yet: ceramic faux Halloween books? If not, they are coming! I picked up three of them earlier this week, so I could turn them into...
I had just enough black acrylic paint left (note to self: buy more black paint!) to do all three. Once they were dry, I dripped some red candle wax over them in random spots. Total: $3.75 plus tax.
I can't wait to add these to my Halloween collection.
Jeanine
They had one of these three-pack sand dollars left. One. You know I couldn't grab it fast enough so I could add my own touches. All I did was hand-stamp some cute beachy sayings on each one. I have them displayed in a wicker basket for a simple nautical look.
Total cost: $1.25 plus tax.
And who could forget these guys?! I swear I've had these Dollar Tree ceramic starfish and the sea urchin for over 10 years. I refresh the paint every few years. This time I went with orange for the starfish and I'm totally digging them now (they've been black, blue and white previously).
No beachy decor is complete without some free printables from The Graphics Fairy. This one always made me crack up. Karen has a ton more, so be sure to pop on over there.
Jeanine
Just a little before and after of these faux concrete candle holders from Dollar Tree. I loved them white, but I knew that the candle soot would make them dirty after each use, so...
Jeanine
Have you seen these ceramic mushrooms at Dollar Tree? Someone on IG had the brilliant idea to paint the bottoms black and I was all in!
I forgot to take a before picture, but the bottoms were a boring beige. Look at them now! So much better. I'm displaying them inside, but you could also place them in your garden and use for autumn decor. The possibilities are endless...and all it took was some black paint.
Jeanine
Run, don't walk, if you haven't been to Target in a while. They've slowly been adding summer pieces to their DollarSpot (a.k.a. Bullseye's Playground), and the selection does not disappoint. First up is this mini cloche tray.
I imagine using it for outdoor entertaining. Cheese plate, anyone (especially since they also have chalkboard cheese sticks in the DollarSpot too)?! Or how about adding some mini faux flowers or robin's eggs for indoor decor?!
If you're going with a nautical theme this summer, you'll love this boat-shaped chips and dip holder. Again, only $5 and it looks pretty simple to put together. Did you spy the nautical rope balls and lanterns in the background? I'd use the rope balls as a vase filler, and I'd line the lanterns along our walkway leading to our patio. Prices: $3-$5 depending upon the item.
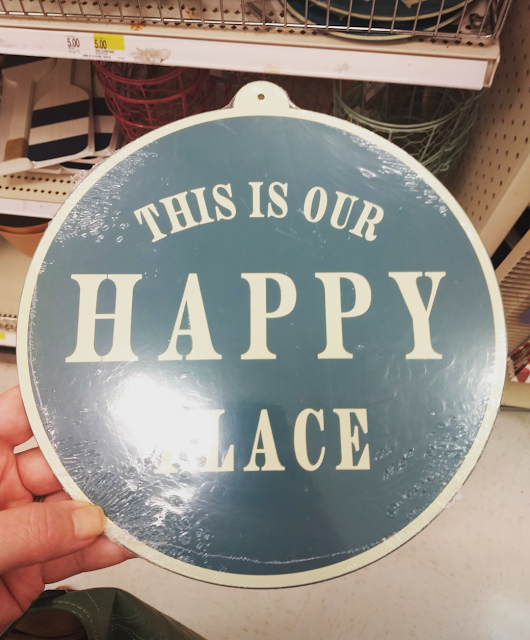
This sign is my favorite! I'm debating as to whether to hang it outside on the porch or keep it inside. Decisions, decisions. For only $5, I can just grab another one and do both - well, if they have any left. I grabbed the last one at our local store.
Not the best picture, but you get the idea for this metal sign. I'd use this on our porch since it truly is our happy place.
Our local stores are adding new items every day, so be patient if your stores don't have these items yet. Happy hunting and let me know what you've found!
Jeanine
Ever just get sick of some of your bedroom decor?! Me too, and that's why I'm working on a mini makeover for the space.

It all started with the J'adore Dior print (found on Etsy many years ago). I wanted to swap out some oversized wood angel wings I had hanging for some simple frames.
I also didn't feel like spending a lot, so I headed over to Pinterest and found the free ampersand and parfum bottle printables. Yes, free - and exactly what I had in mind.
The frames are from Amazon. They come in a 3-pack for $22.99 (!). I have a lot more to do, but I'm happy with the way these turned out (I'm still adjusting them on the wall to make sure they are evenly spaced). I'm even more happy that it cost less than $25.
Stay tuned for more!
Jeanine
Wishing all who celebrate a Happy Easter! BTW, I'm back...
Jeanine
'Tis the season for holiday treats! And I'm sharing a few your whole family can enjoy - courtesy of TheSoul-Publishing, the company behind the popular YouTube channel 5-Minute Crafts.
Snowman Marshmallow Cookies: After baking some plain sugar cookies, cover each in white icing, then stick a large marshmallow in the center. Add your snowman's features using brown icing, and you've got your very own Frosty the Snowman!
Mini Christmas Trees: All you need is a bowl of melted white chocolate and some ice cream cones. Add a few drops of green food coloring to the chocolate until you get that perfect evergreen shade, then dip your ice cream cones in it. Cover in sprinkles to really make these TREEts festive.
3-D Holiday Cookies: To make treats that really pop, you'll only need to perform a few extra steps. Cut out a typical shape, such as a tree, but remove a vertical rectangle from the bottom of the shape. Then, cut out another tree (but only the bottom half), and remove a vertical rectangle from the top of this shape. Cook, frost, and then fit the pieces together to make 3-4 cookies that stand up on their own.
You can find even more ideas here.
Enjoy!
Jeanine
How cute are these mini stockings from Dollar Tree? When I saw them, I knew exactly what I wanted to do with them...
I hand-stamped our names onto each stocking. Then I added some mini bells (also from Dollar Tree) using red-painted safety pins. Easy peasy!
I'll be using these as place settings for our Christmas table.
Total cost: $2.50 for the stockings. I had everything else I needed.
Jeanine


.jpg)


